How to transcribe a Zoom meeting on a Mac
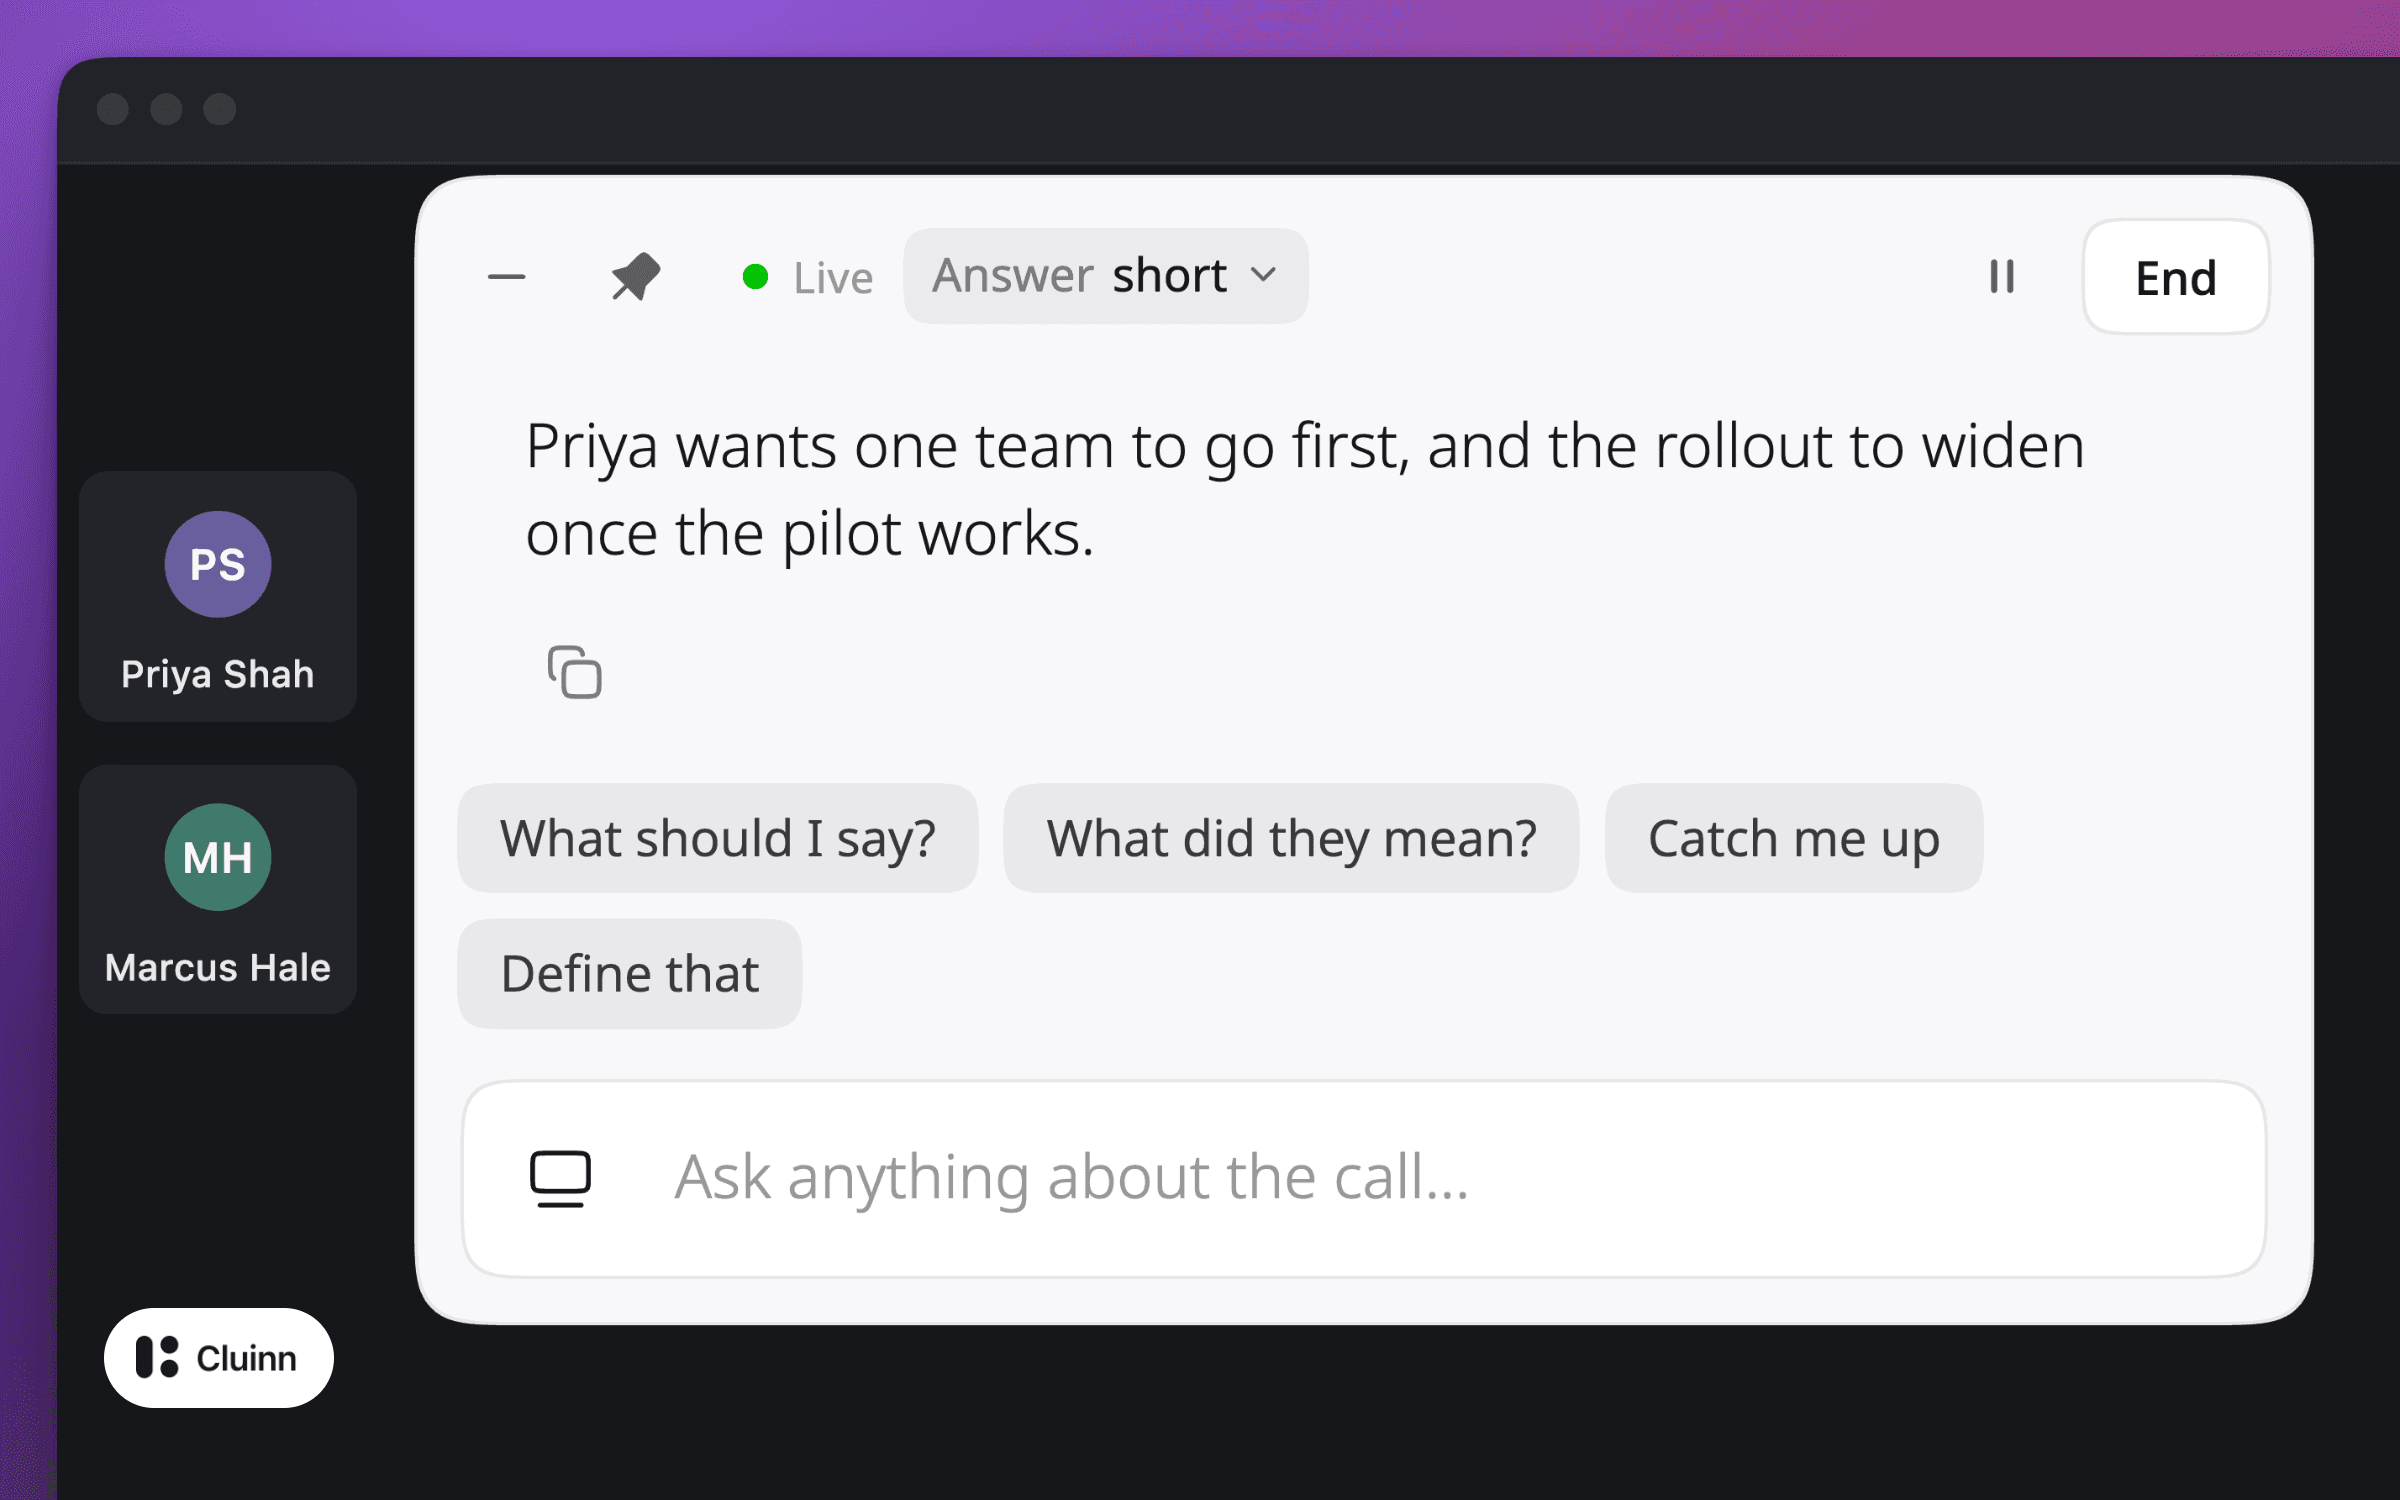
Here are three ways to get a written transcript of a Zoom meeting on a Mac. Two are built into Zoom, and they depend on your Zoom account and on the host. The third is an app on your own Mac that listens to the call.
This page walks through all three. We make Cluinn, which is one such app, so that part comes last. The Zoom steps come from Zoom’s own support articles, read on 9 October 2026. If a button is not where we say, open the linked article.
One rule covers all three ways. Tell people you are transcribing before you start. Recording rules differ by region, and some places need everyone on the call to agree.
Which way fits you
| Your situation | Use |
|---|---|
| You are the host, on a paid Zoom account | Way 1, Zoom’s meeting transcript |
| You record to Zoom’s cloud, and the meeting is in English | Way 2, the audio transcript of the recording |
| You are a participant | Ask the host for way 1 |
| Ways 1 and 2 are not open to you | Way 3, once everyone on the call knows |
Way 1: Zoom’s meeting transcript
Zoom can write a transcript while the meeting runs, and you can save it as a text file.
What it needs. Zoom’s articles say meeting transcripts are off by default: a host or an admin has to turn them on. The switch is on Zoom’s website, where you sign in to your account (Zoom calls it the web portal), under Settings → Meeting → In Meeting (Advanced) → Meeting transcript. It needs a Pro, Business or Enterprise account.
If you are the host:
- Start the meeting.
- In the meeting toolbar, click More, then Transcript. The transcript starts.
If you are a participant:
- In the meeting toolbar, click More, then Transcript.
- Click Request transcription. The host sees a prompt and chooses Start transcription or Decline.
To save it. At the bottom of the Transcript panel, click Save transcript. Zoom saves a .TXT file to your Mac, in the Documents/Zoom folder. The host’s settings decide who may save it.
One change to know about. Zoom’s support site says that since late May 2026, captions can no longer be saved after a meeting. Captions are for reading along while people talk. The transcript is the part you keep.
Way 2: the audio transcript of a cloud recording
If you record the meeting to Zoom’s cloud, Zoom can turn the recording’s audio into text afterwards.
What it needs. Zoom’s article lists these:
- A Pro, Business, Education or Enterprise account, with cloud recording turned on.
- The Create audio transcript setting, in the web portal under Settings → Recording, in the advanced cloud recording settings. An account owner or admin may have to allow it.
- English. Zoom’s article says audio transcription only supports English.
- A cloud recording. It does not work for a recording saved on your computer.
Turn the setting on before the meeting, because Zoom says it cannot be changed while a meeting is running. The transcript is saved with the cloud recording as a separate VTT file, which is a text file with time stamps.
Way 3: an app on your Mac
The third way does not depend on your Zoom account or on the host’s settings. An app on your Mac listens to the call’s sound and produces the transcript. Granola and Wispr Flow’s Notetaker work this way, and so does Cluinn. Where the sound is turned into text depends on the app: some do it on your Mac and some on their servers, so check before you choose.
An app like this does not join the meeting, so Zoom shows the others no notice. That makes telling everyone your job. Do it before you start.
With Cluinn, it goes like this:
- Join or start your Zoom meeting as usual.
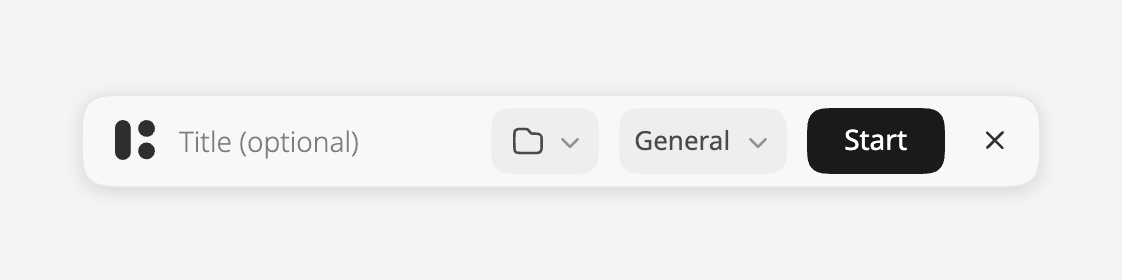
- Cluinn notices the Zoom call and opens its Calls bar. Press Start. You can also open the bar yourself with ⌘\.
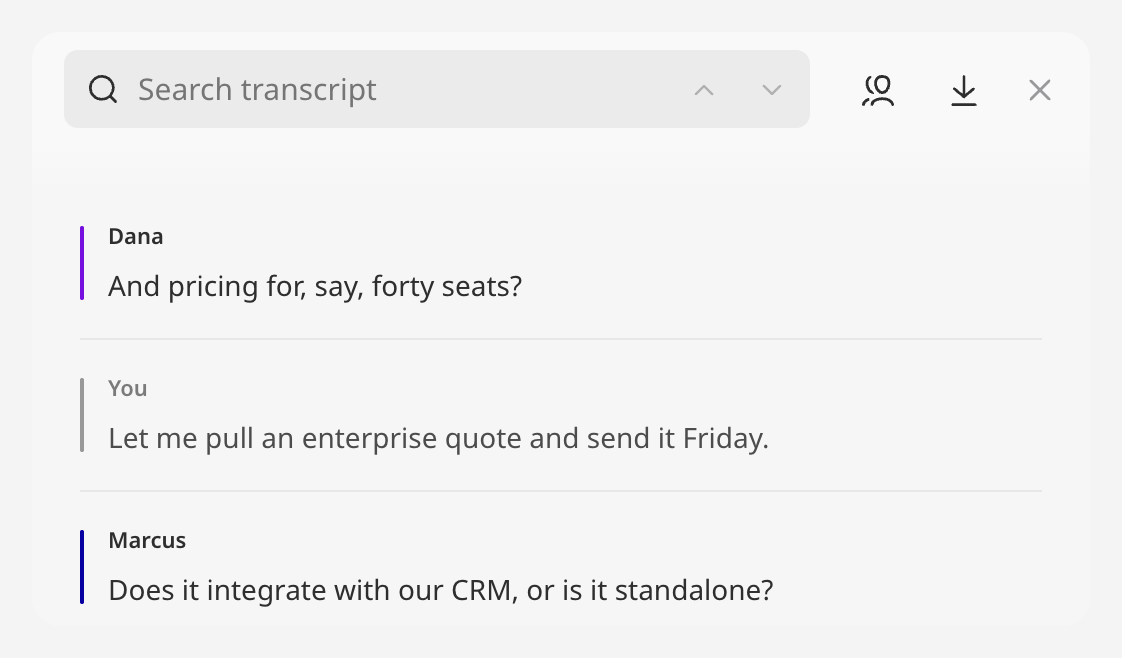
- The transcript builds as people talk. Your own words are labelled You. Other voices get a name when Cluinn can read one from the meeting window, and Speaker 1, Speaker 2 and so on when it cannot.
- Press End. The call is saved as text on your Mac.
- Open the call, open Transcript, and click Download transcript.
What to know before you try it:
- Where the sound becomes text. Cluinn transcribes on your own Mac wherever it can: on a recent Apple silicon Mac with an active plan, your speech becomes text on the machine itself, with no external speech model and no audio uploaded. During a trial, or any time Cluinn can’t run the on-device model, the audio is sent to our servers to be turned into text and discarded straight after.
- Names. To put names on the transcript, Cluinn reads the meeting window while the call runs, partly on your Mac and partly on our servers. No picture of it is kept.
- Permissions. Setup asks for three macOS permissions. The one that matters here is Screen & System Audio Recording (called Screen Recording on older versions of macOS): it is how Cluinn hears the other side of the call.
- It is text only. A saved call is the transcript and its takeaways. The audio is not kept.
- The plan. Calls is part of Cluinn’s Pro plan. There is no free plan. There is a free trial that includes Calls, and you add a card to start it. A transcript you already have stays yours to view and download on any plan.
- Mac only. Cluinn runs on Macs with Apple silicon (M1 or later).
During the call you can also type a question and get an answer from what has been said so far. When the call ends, its action items, reminders and key points are listed for you.
If that sounds like a fit, you can download Cluinn for Mac.
Sources
Checked on 9 October 2026.
- Zoom: Using Meeting transcripts, Enabling or disabling meeting transcripts, Enabling or disabling audio transcription for cloud recordings and Meeting captions and transcript updates, May 2026
- Granola: home page. Wispr Flow: Notetaker
- Cluinn: What Calls does, Saved calls and chat, Speaker names, Permissions and Plans and trials